
Do you wonder how to take a better pet portrait? Here are 5 simple tips to a better pet portrait.
I take a lot of pet portraits, mostly dogs, some cats, a few chickens, some rabbits and even a rat. Sometimes dogs and cats together!
While volunteering at the Santa Cruz SPCA, I get to see some poor animals who at first glance don’t look like they would make a great photo, but I try my best, and luckily for everyone, I usually get a few good photos which would show them off in a better light, and attract people to come in and adopt them.
Here is a video showing an actual photo shoot at the SPCA, created by Adobe, the company which gave us Photoshop and many other wonderful products.


On their Adobefurphotography.com web site, are 5 tips I mentioned to get a better pet portrait. Let me elaborate on them a bit more here.
- Get Silly!
 Die your dog’s hair, put a hat or a ribbon on them. Not all dogs will go for silly outfits, but sunglasses always look cool on dogs. Cat can wear a hoola, a flower, or whatever you can get them to wear! If you can find some designer outfits for the cute puppies, they look even cuter than they are already. (Costumes from Myfavoritecoutour.com)
 - Use natural light. You may wonder why I say that when all my photos were taken with a strobe light. What I meant is that you want to avoid just using the on-camera flash as the main light. It turns the dogs eyes red, which is never pretty, and often it creates a harsh shadow behind the dog, which can be very distracting. A studio strobe, strangely enough does not create red eye, just look at the nice catch light in the eyes of the black dog at the top of this page! If you have a nice sunlit window, then put the animal near the window, and use the natural light from the window, but do NOT shoot from inside toward the window, put you and the animal both along the window, i.e. if you draw a line between your camera and the animal, this line should be parallel to the window. This is a starting point, of course you can expose for the animal, and blow out the window completely for a different look.
- Get their attention! If your dog model won’t stay still, you may end up with a blurry photo. Tricks I use include making Meow noises, using an iPhone app which has door bell sounds, bird chirping, or use a squeaky toy. But don’t overdo it, they lose interest if you do it too much. Sometimes a bit of food works, but don’t give them too much, or you will be taking a totally different kind of photo! And most of all, be patient, wait for the right moment to click the shutter, so you don’t have to sort through tons of bad shots later. It also is a good idea to get them comfortable, talk to them softly, calm their nerves if they are nervous.
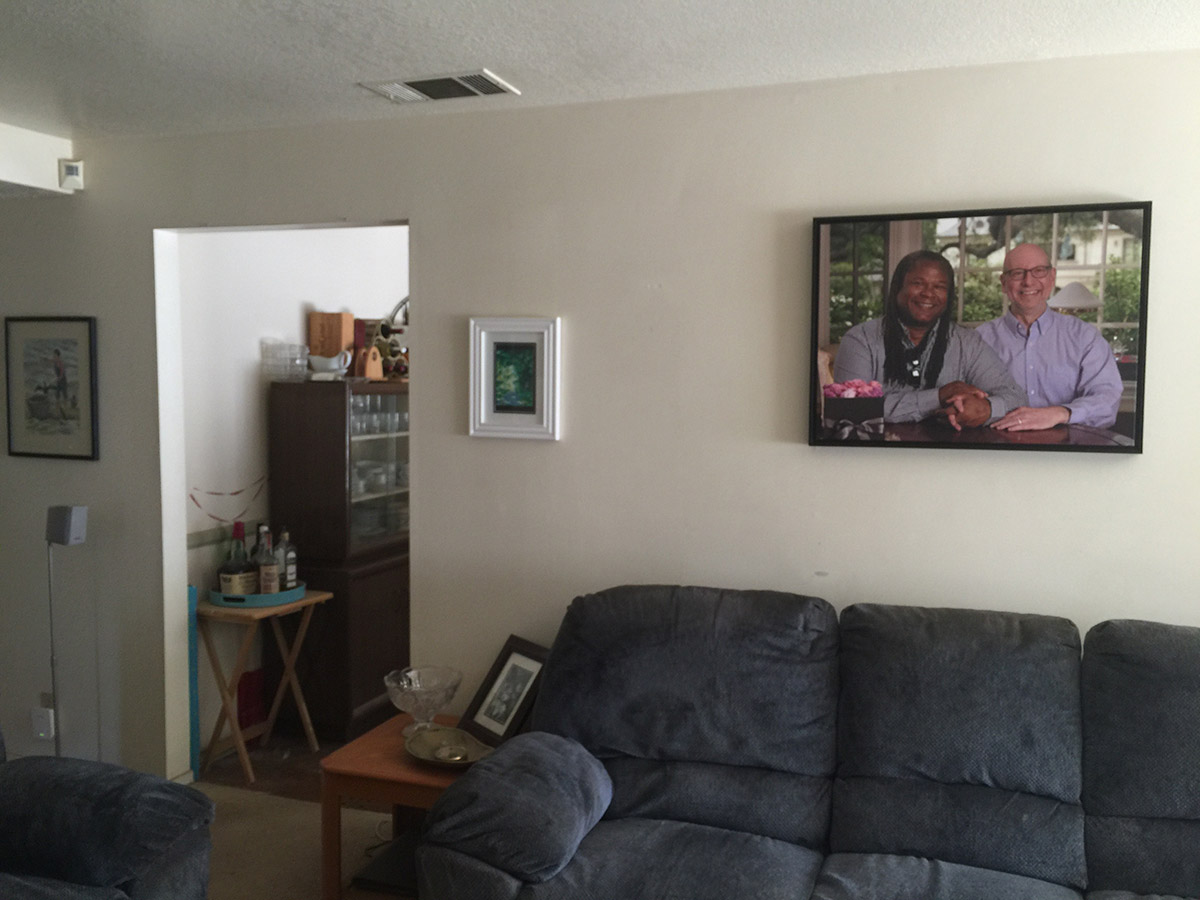
- Make the animal the star! Most of my pet photos are shot against a white or other solid color background, since the animal is the main attraction here, we are not showing them in a safari, where the background must be included to tell the story. If your purpose is to show the dog on a sofa, then of course, include the sofa, but not that messy table full of magazines beside it. Try to exclude anything which is not pertinent to the story and purpose of your photo.
- Stoop to their level.Most of the time, a photo of the pet shot at their eye level is better looking than one looking
 down at them. If you are in the portrait with your pets, try getting down with them for a fantastic family portrait together.
Connect with me on facebook, call 831-426-1400 or email me to schedule a portrait of your pet.